Welcome to our gardening section! If you’re passionate about growing a vibrant and healthy garden, you know how important soil is to caring for your plants. The key to a flourishing garden is to feed your plants the proper nutrients. We’ll delve into the world of DIY soil testing in this guide, giving you the power to develop your soil for maximum plant growth.
Why DIY soil testing matters:
Understanding the composition of your soil is essential for successful gardening. DIY soil testing allows you to examine your soil’s nutrient levels, pH, and texture. With this information, you can tailor your gardening approach to meet the specific needs of your plants, resulting in a thriving and productive garden.
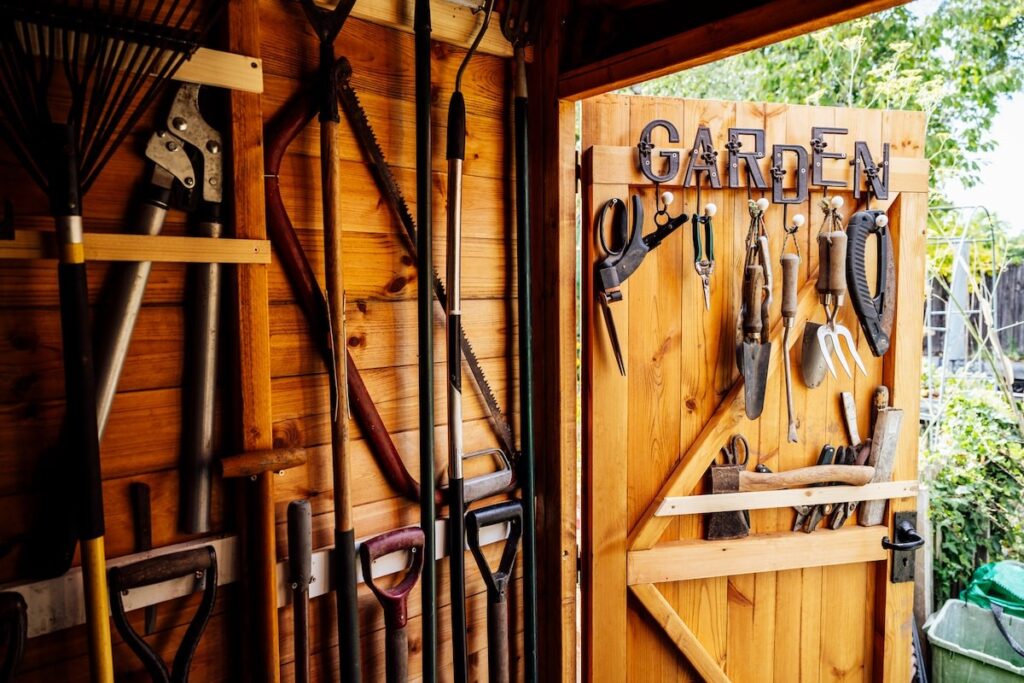
Step 1: Collect Your Soil Samples
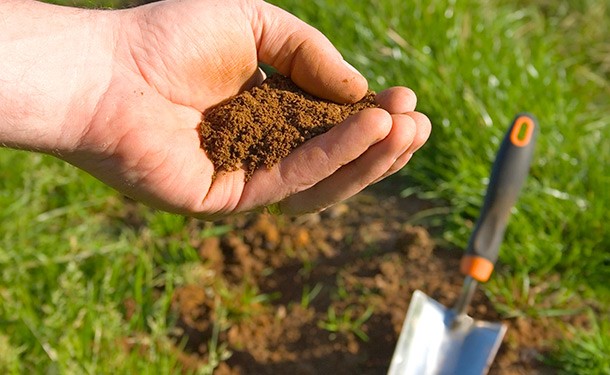
To begin, collect soil samples from various areas of your garden. Extract samples from the surface and deeper layers with a trowel or soil auger. Because soil composition varies across your garden, remember to label each sample with its source.
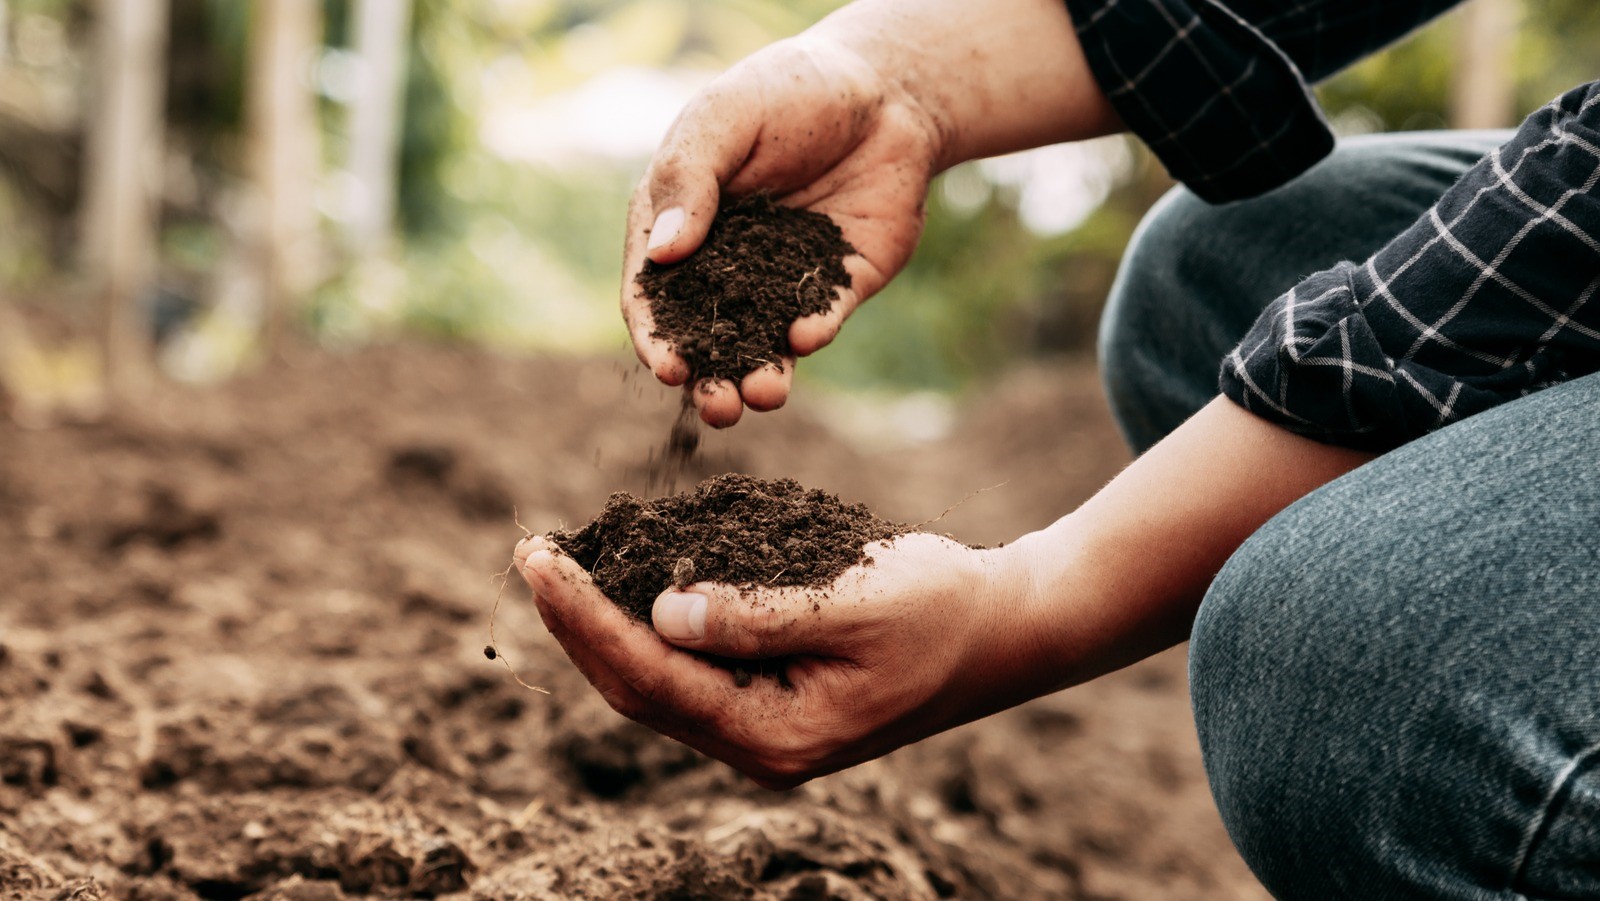
Step 2: Examine the Soil Texture
The texture of the soil influences water retention and drainage. Make a simple “feel test” by moistening a small amount of soil with water. Put your fingers together and squeeze it. Sandy soil has a gritty texture, clayey soil is sticky, and loamy soil is crumbly. Understanding the texture of your soil allows you to make more informed decisions about watering and drainage.
Step 3: Determine the pH
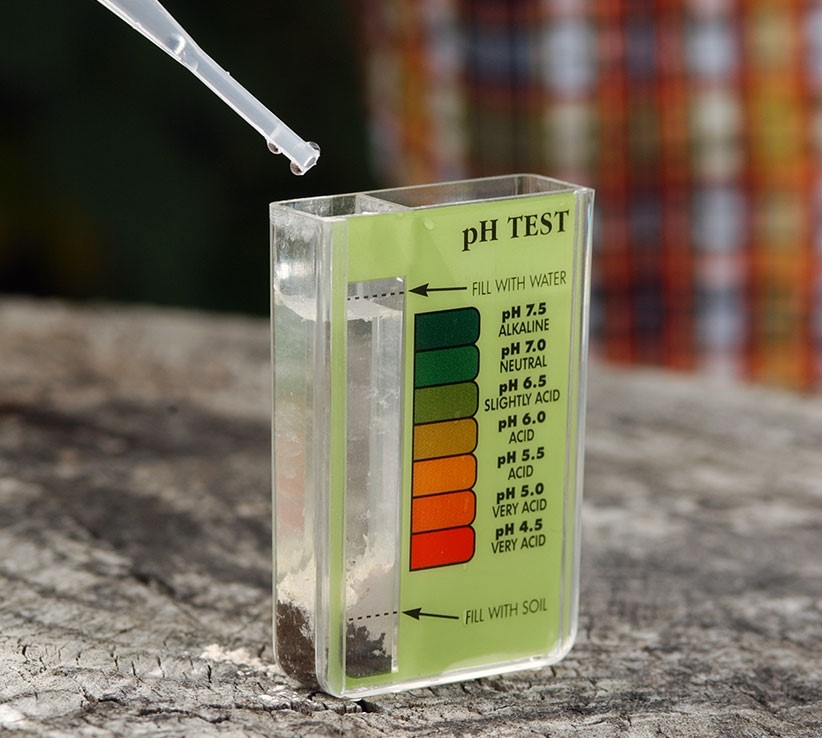
Testing pH levels has a significant impact on plant nutrient availability. Most plants prefer a pH range of slightly acidic to neutral. To perform a pH test, use a DIY soil pH testing kit, which is readily available at garden centers. Adjusting pH levels with amendments such as lime (to raise pH) or sulfur (to lower pH) ensures that your plants can absorb nutrients effectively.
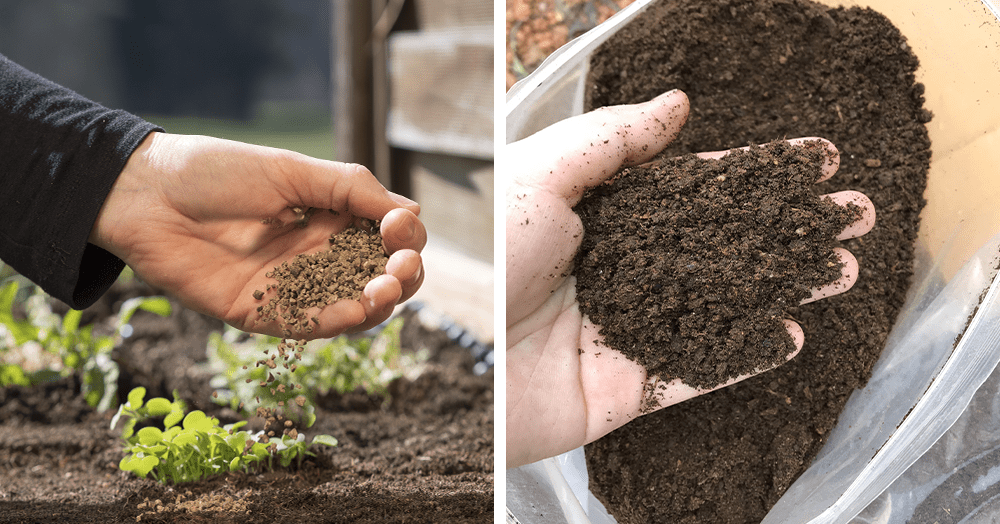
Step 4: Nutrient Analysis
Use a soil testing kit or send samples to a professional lab to determine the nutrient content of your soil. These tests reveal the levels of essential nutrients such as nitrogen, phosphorus, and potassium. With this knowledge, you can select fertilizers that address any deficiencies while avoiding over-application, thereby preventing nutrient imbalances.
Step 5: Interpret the Findings
Upon obtaining the results of your soil test, you can utilize them to create a personalized fertilization schedule. Adjust nutrient levels as needed, taking into account the unique needs of the plants in each area of your garden.
To summarize, do-it-yourself soil testing is a valuable tool for any gardener committed to growing a lush and thriving garden. Understanding the texture, pH, and nutrient composition of your soil allows you to make informed decisions about fertilization and soil amendments, ensuring your plants receive the best care possible. Prepare to see your garden flourish as you embark on this soil testing and plant empowerment journey!